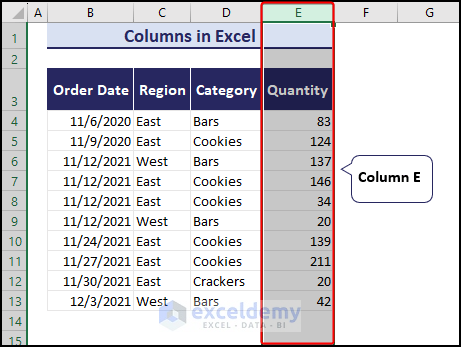
Columns are the vertical alignment of cells in an Excel worksheet. A single worksheet contains a total of 16,384 columns. Each column is addressed at the top by an alphabet starting from A and ending in XFD.
In this tutorial, you will learn everything there is to know about columns in Excel.
In this blog post, you will learn how to
- Select single or multiple adjacent columns
- Select non-adjacent columns
- Select all columns to the left or right of a column
- Insert columns
- Insert a new column to a table
- Delete columns
- Group/ungroup columns
- Make the column name a number
- Modify column width
- Move/swap columns
- Hide and unhide columns
- Freeze columns
- Refer to a column inside a formula
- Count columns in a specific range
Note: We have used Excel for Microsoft 365 to prepare this tutorial.
⏷Selecting Columns
⏷Selecting Non-Adjacent Columns
⏷Selecting All Columns Left or Right of a Column
⏷How to Insert Columns
⏷How to Insert New Column into a Table
⏷How to Delete Columns
⏷How to Group/Ungroup Columns
⏷What Is the Last Column
⏷Make Column Name as a Number
⏷Modify Column Width
⏷Move/Swap Columns
⏷Hide and Unhide Columns
⏷Freeze Columns
⏷Refer to a Column Inside Formula
⏷Count Columns in a Specific Range
How to Select Columns in Excel?
You can select a column by clicking the address name of that column from the top row. Selecting a column is necessary for referencing it and performing various formatting to the column.
1. By Clicking on Column Name
i. Select Single Column
To select a single column click on the name of the column at the top of the column. This will highlight the column indicating that the column has been selected.
ii. Select Multiple Adjacent Columns in Excel
Click on the name of the first column you want to select and drag the mouse to the name of the last column without releasing the mouse. This will select all the adjacent columns.
2. Using Keyboard Shortcut
i. Selecting Single Column
Another way of selecting a single column is by using the keyboard shortcut. Select any cell in the column that you want to select and press Ctrl + Space. This will highlight the column.
ii. Selecting Multiple Columns
Click on the name of the first column and then click on the name of the last column while pressing Shift. This will highlight all the adjacent columns.
You can also select adjacent columns using a keyboard shortcut. Select adjacent cells of different columns in a row and press Ctrl + Space to select all the columns.
3. Using Name Box
i. Selecting Single Column
Click on the name box and enter the reference of the desired columns to select the columns. Here, you will get the detailed steps:
- Click on the name box on the top left of the worksheet.
- Input the column references for the columns you wish to select and press Enter.
- For example, I have used input reference C:C to select column C.
ii. Selecting Multiple Columns
- For selecting the range of columns C to E, input C:E in the Name Box.

- To select non-adjacent Columns C and E, input C:C, E:E in the Name Box.
How to Select Non-Adjacent Columns in Excel?
To select multiple non-adjacent columns, hold the Ctrl key and click on the header names of the columns you want to select.

If you have mistakenly selected a column, then click on the header name of that column. This will de-select that column while keeping your selection intact.
How to Select All the Columns to the Left or Right of a Column in Excel?
i. Select All Columns Left
To select all the columns left of a column click on the header name of a column and press Ctrl + Shift + Left Arrow.
ii. Select All Columns Right
Press Ctrl + Shift + Right Arrow to select all the columns right of a column after clicking the header name of the column.
How to Insert New Columns in Excel?
Right-click on the header name of any column and click on Insert to insert a new column. You can use the Insert options, the keyboard shortcut for inserting new columns in both adjacent and non-adjacent positions.
1. Using the Insert Command from Right Click Menu
You can insert both adjacent and non-adjacent columns using the insert option from the right-click menu.
i. Insert Adjacent Columns
Select the number of adjacent columns you want to add and choose Insert from the right-click menu keeping the cursor on the selection.
- Select the number of adjacent columns you want to add. If you want to add 2 columns, select 2 columns.
- Right-click on the mouse keeping the cursor on the selected columns.
- Select Insert from the menu and This will insert the desired number of columns.
Note: Excel usually inserts a new column on the left of the selected columns.
ii. Insert Non-Adjacent Columns
Select the non-adjacent columns and choose Insert from the right-click menu keeping the cursor on the selection.
- Click the columns while pressing the Ctrl key.
- Right-click on the mouse keeping the cursor on the selected columns.
- Select Insert from the menu.
- This will insert a column to the left of every selected column.
2. Using Keyboard Shortcut
i. Inserting Adjacent Columns
Select the desired number of adjacent columns and press Ctrl + Shift + Plus(+) to insert columns that are equal to the number of selected columns.
2.2 Inserting Non-Adjacent Columns
Select the non-adjacent columns and press Ctrl + Shift + Plus(+) to insert a column to the left of every selected column.
3. Using the Fill Handle Tool with SHIFT Key
Change the fill handle icon by pressing Shift and dragging this new icon to insert a column to the right.
- Select the column to the right where you wish to insert new column(s).
- Upon selecting the column, you’ll see that a small plus(+) sign appears at the bottom of the header name of the column. This is known as the Fill handle.
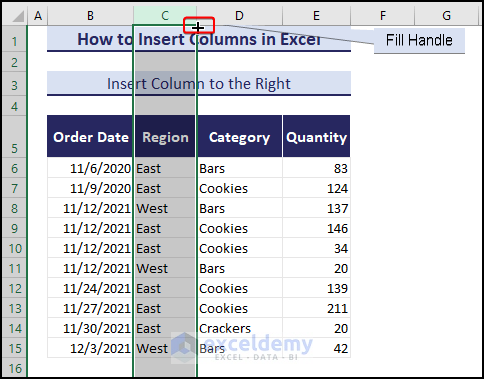
- Hover your cursor above the fill handle, then press and hold the Shift key on your keyboard. As a result, the cursor will transform into two bars with arrows. This signifies that you can insert a column.
- Drag this icon while pressing the Shift key to the right to insert as many columns as you want.
4. Using Insert Sheet Columns Command from Insert Drop Down of Cells Group of Command Under Home Tab
The top Ribbon in Excel helps us perform many tasks easily including inserting a new column.
- Choose the column next to which you want to insert a new column.
- Go to Home > Cells group > Insert > Insert Sheet Columns.
- This will insert a new column.
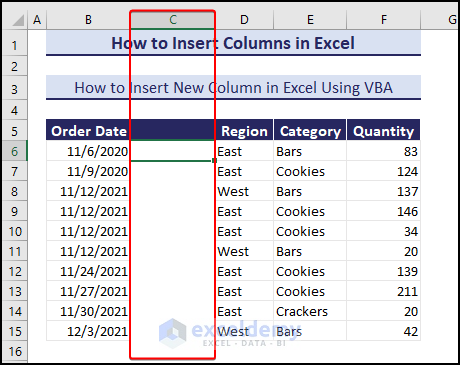
5. Using a VBA Code
You can use a VBA code to insert a column to the left of a column you choose. Follow the steps below to achieve this:
- Go to the Developer tab > Visual Basic.
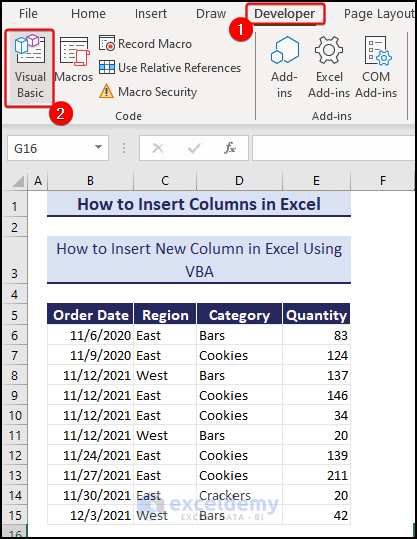
- Then, in the Visual Basic window, go to Insert > Module to insert a new module.

- Type the following code and click on Run.
Sub InsertColumnToLeft()
    Dim Number As Long, Start As Long, Finish As Long
    Start = Application.Selection.Cells(1, 1).Column
    Finish = Start + Application.Selection.Columns.Count - 1
    Application.ScreenUpdating = False
    Application.Calculation = xlCalculationManual
    For Number = Finish To Start Step -1
        ActiveSheet.Cells(1, Number).EntireColumn.Insert
    Next
    Application.ScreenUpdating = True
    Application.Calculation = xlCalculationAutomatic
End Sub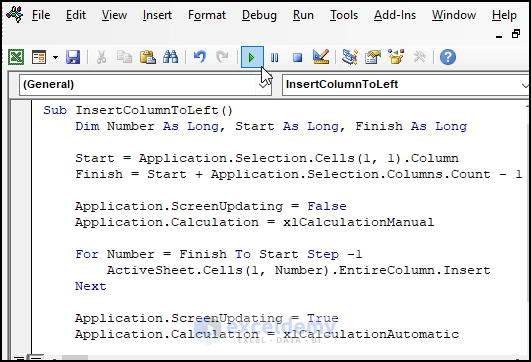
- This will insert a column to the left of the column you choose.
How to Delete Columns in Excel?
Sometimes you may need to delete a column or multiple columns. This can be done easily by using the right-click menu.
- Select the column or the columns you want to delete.
- Right-click on the selection.
- Click on Delete. The column(s) is now deleted.
How to Insert New Columns to Excel Table?
It is very easy to insert a new column if your data is formatted in an Excel table. Right-click selecting any cell in the table will give you the option to insert a new column.
1. Inserting Column to the Left
- Right-click a cell in the column next to which you want to insert a column.
- Select Table Columns to the Left from the Insert option in the right-click menu.
This option is available for all the columns in the Excel table. The newly inserted column will be termed Column1. You can change it later according to your preference.
2. Inserting Column to Both Left and Right
You can only insert a column on the right of a column in an Excel table if you select any cell in the rightmost column.
Right-click a cell in the rightmost column will give you two options to insert a column.
- Table Columns to the Left– inserts a new column left to the rightmost column.
- Table Columns to the Right– inserts a new column right to the rightmost column.
Choose the option you need and the column will be inserted.
You can use this option to expand your Excel table while keeping the formatting intact.
Formatting Options Appearing After Inserting New Column
After inserting a column, you will notice the Insert Options button appear at the top right of the inserted column. You can use this button to modify the formatting of the newly inserted column.
The button provides three formatting options.
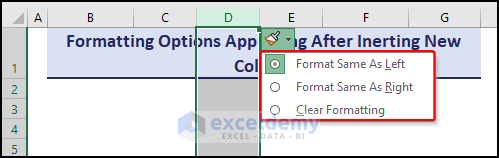 i. Format Same As Left – This is the default option. This means that the newly inserted column will have the same formatting as the column immediately left to it.
ii. Format Same As Right – Choosing this option will make the inserted column the same formatting as the column immediately right to it.
iii. Clear Formatting – This removes all the formatting options from the newly inserted column. This means the column will have the default font size, font color, fill color, border, etc.
How to Group/Ungroup Columns in Excel?
You can use the Outline option or keyboard shortcut to group/ungroup columns in Excel easily.
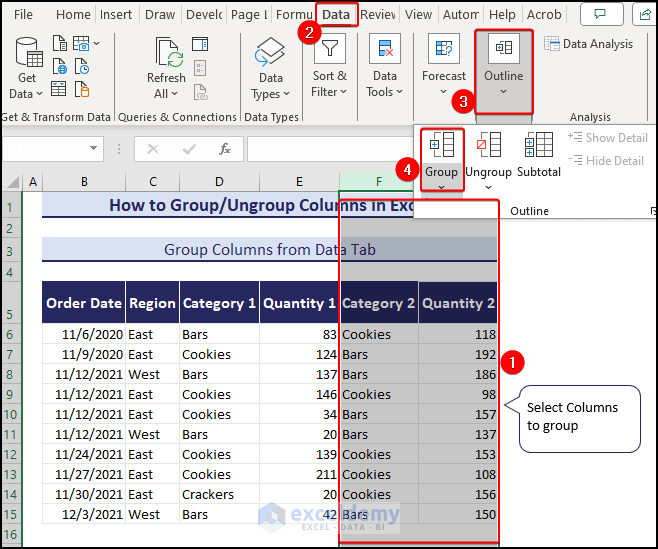
1. Group/Ungroup Columns from the Data Tab
Select the columns you want to group and go to Data > Outline group > Group. This will group the columns.
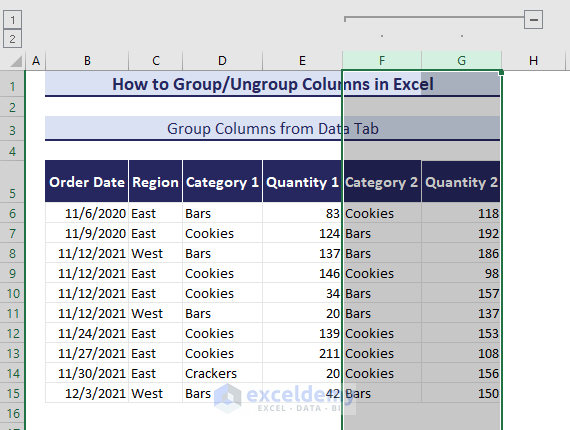
This will group the column(s). A minus(-) sign appears at the top of the selected column(s) indicating that the data in the column(s) is grouped.
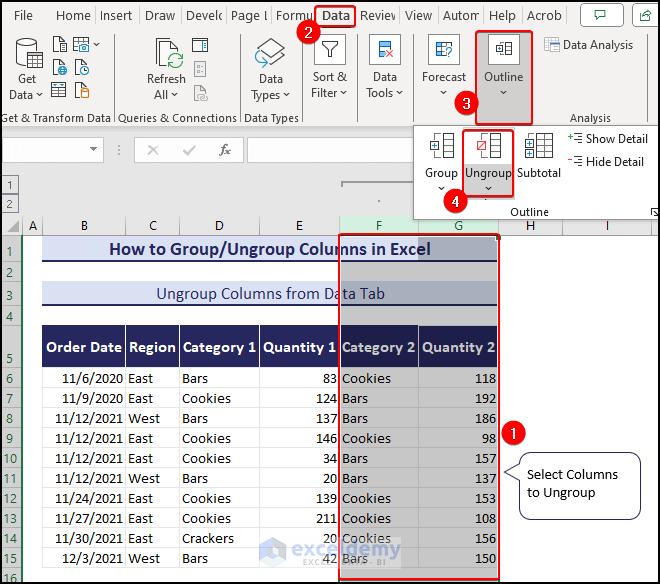
To ungroup the columns, select the columns and go to Data > Outline group > Ungroup. The columns are now ungrouped.
2. Keyboard Shortcut to Group/Ungroup Columns
Select the columns you want to group and press Alt + Shift + Right Arrow(→).
To ungroup the columns, press Alt + Shift + Left Arrow(←) simultaneously on your keyboard.
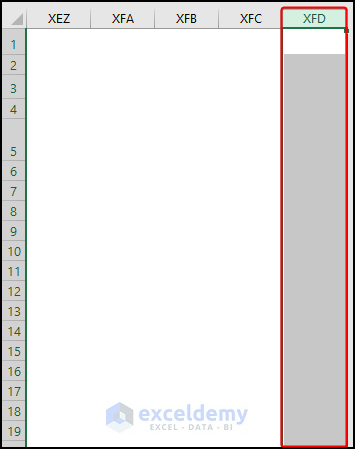
What Is the Last Column in Excel?
The last column is addressed as XFD in an Excel worksheet. There are a total of 16,384 columns in a single worksheet. You cannot add or delete any column as this number is fixed. If you want to go to the last column in Excel, select a blank column and press Ctrl+Right Arrow on your keyboard.
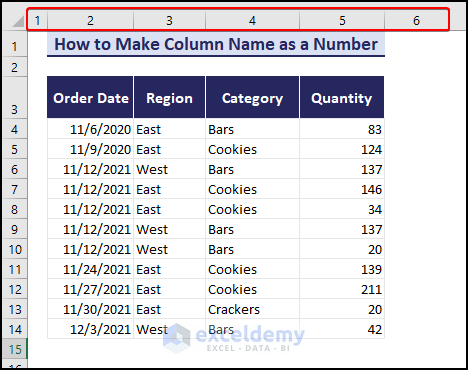
How to Make Column Name as a Number?
Select the R1C1 reference style from the Excel Options menu to make the column name a number.
- Go to File > Options.
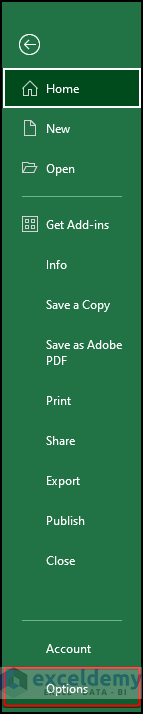
- Go to the Formulas tab in the Excel Options window and check the R1C1 reference style under the Working with formulas Click on OK.
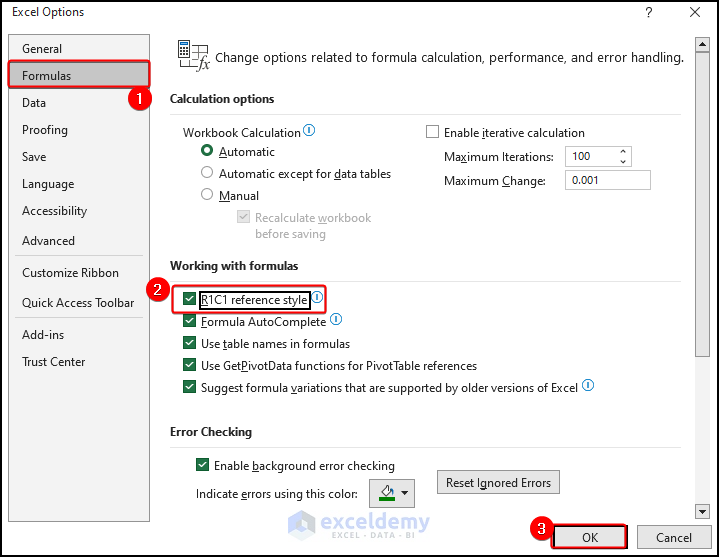
- The column names are shown as numbers.
How to Modify Column Width in Excel?
You can modify the column width by dragging the plus icon with arrows on two sides.
1. Manually Modify the Column Width
Select a column and drag the modify icon left or right to modify the column width.
- Select a column whose width you want to modify.
- Once you hover over the border of the header name of the column, you will see a plus icon with arrows left and right.
- Click and drag this icon left(to decrease width) or right(to increase width) to modify the width of the column according to your needs.
- If you want to modify the width of multiple columns, just select multiple columns and drag the icon left or right to modify the width of multiple columns at once.
2. Autofit Column Width with Double Click in the Column Border
Hover the mouse over the column header of the column whose width you want to modify to activate the plus icon with arrows left and right. Double-click this icon will autofit the width of the selected column.
How to Move/Swap Columns in Excel?
Applying the Cut command from the Home tab or the keyboard or the drag and drop method will help you move a column in Excel.
1. Using Cut Command
Apply the cut command from the Home tab or by using Ctrl + X to move a column.
- Select the column(s) you want to move from its place.
- Go to Home > Clipboard group > Cut. Or you can use the keyboard shortcut Ctrl + X to cut the selected column.
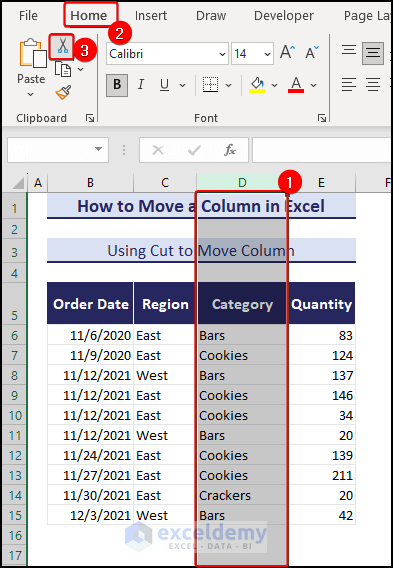
- Select the column header located to the right of the column where you wish to move it. For example, if you want to move the column between columns B and C, then select column C.
- Go to Home > Insert > Insert Cut Cells. This will move the column to the desired position.
2. Using Drag and Drop Commands
Press the Shift key while holding the four-sided arrow icon to move the column by drag and drop.
- Select the column that you want to move.
- Hover the cursor over the column until it shows the four-sided arrow icon.
- Press Shift and drag the column to your desired location.
- Let go of the column and the column is moved to its new position.
How to Hide and Unhide Columns in Excel?
Use the right-click menu while selecting a column to hide or unhide it. I am showing the detailed steps below to hide or unhide columns in Excel:
i. How to Hide a Column in Excel
Select Hide from the right-click menu to hide a column.
- Select the column(s) you want to hide.
- Right-click the mouse while keeping the selection.
- Select Hide from the menu. A green line in place of the column(s) indicates that the column is hidden.
ii. How to Unhide a Column in Excel
Select Unhide from the right-click menu by selecting columns of both sides of the hidden column to unhide the column.
- To unhide the hidden column, select the columns on both sides of the hidden column.
- Right-click the mouse while keeping the selection.
- Select Unhide from the menu. This will unhide the column.
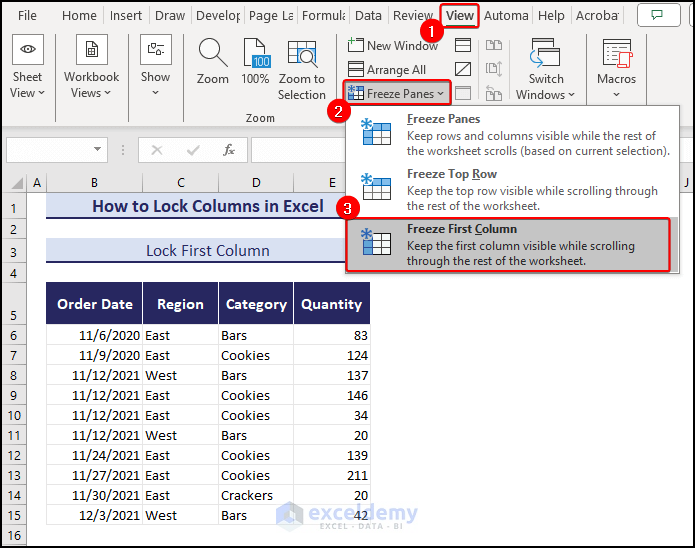
How to Freeze Columns in Excel?
Locking the positions of columns in Excel can be done from the Freeze Pane menu in the View tab. Locked columns are always visible while scrolling from left to right and vice versa.
1. Locking the First Column Only
Go to View > Window group > Lock First Column to lock the first column. This locks the first column.
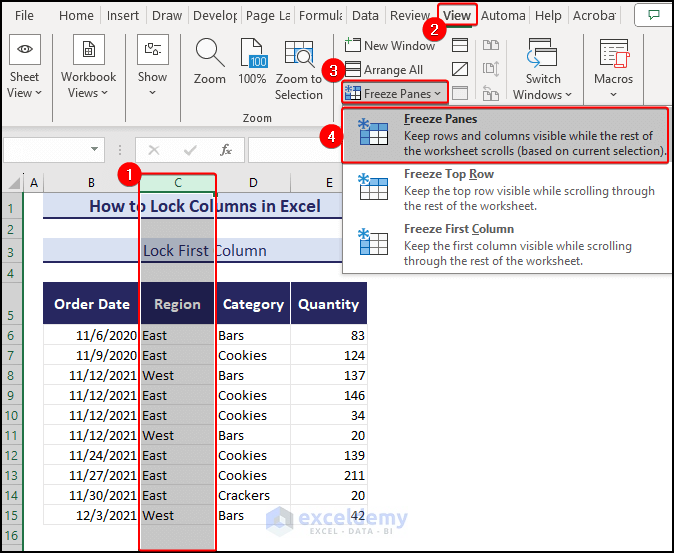
2. Locking Multiple Columns
Select columns to lock and select Freeze Panes from the View tab.
- Select the column after the range of columns that you want to lock and go to View > Window group > Freeze Panes. This means that if you want to freeze columns A, and B, you must select column C.
- This locks the columns.
Read More: Move Columns in Excel
How to Refer to a Column Inside Formula in Excel?
If you want to refer to a column, you have to use the column’s name by which the column is addressed in Excel.
1. Referring to a Single Column
To refer to column D, you have to use the reference D:D. You can use this reference in calculations.
For example, we show how to use the reference of column E within a formula in the screenshot below:
=SUM(E:E)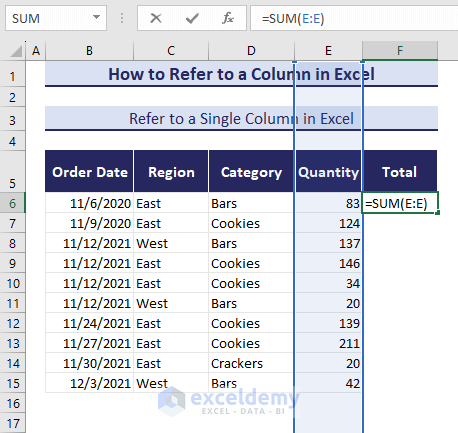
2. Referring to Multiple Adjacent Columns
There are two ways to refer to multiple adjacent columns. “E:F” and “E:E,F:F” refer to the same columns.
We have referred to columns E and F in a formula.
=SUM(E:F)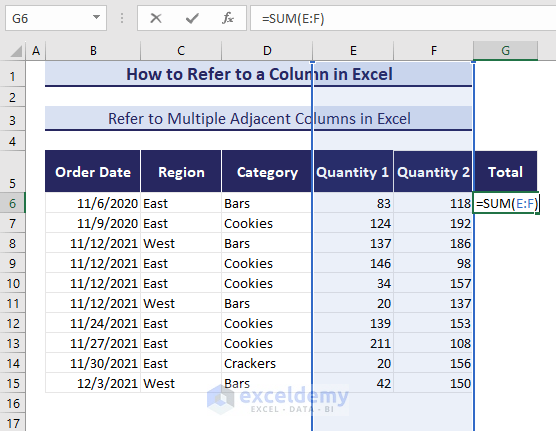
Similarly, we can use the reference of columns E and F in the following way:
=SUM(E:E,F:F)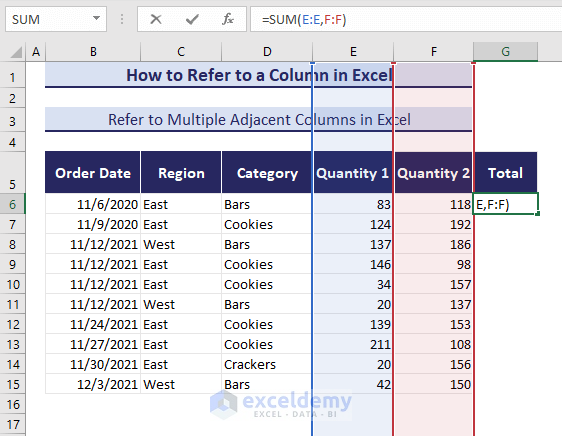
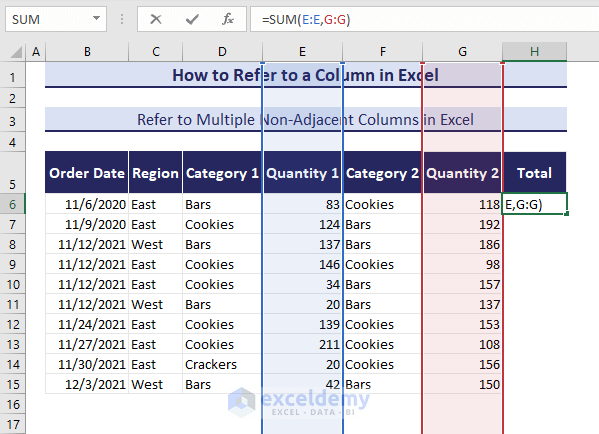
3. Referring to Multiple Non-Adjacent Columns
To refer to multiple columns that are non-adjacent you can use the following referencing method.
E:E,G:GHere, we have referred to columns E and G which are non-adjacent.
In the following image, we have shown how to refer to non-adjacent columns E and G within a formula.
Read More: Insert Column in Excel
How to Count Columns in a Specific Range?
The Excel COLUMNS function is dedicated to returning the total number of columns in a specific range. The COLUMNS function has only one argument and the syntax of the COLUMNS function is as follows:
=COLUMNS(array)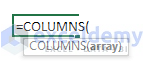
- Suppose you want to count the total columns in the range B5:E15 using the COLUMNS For this, go to the desired cell where you want to show the result and insert the following formula.
=COLUMNS(B5:E15)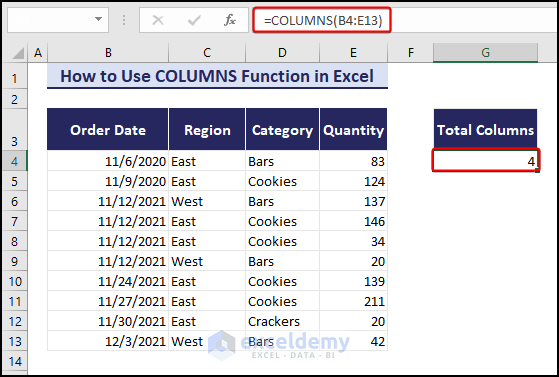
- This formula returns a result of 4, indicating that the input range has 4 columns in it.
Note: The COLUMNS function’s argument cannot refer to multiple references.
Read More: Select Column in Excel
Important Notes about Columns
- The number of columns in an Excel worksheet is fixed. The total number of columns in a worksheet is 16,384.
- Columns are addressed by alphabets starting from A to XFD in Excel. You can change the column address from alphabets to numbers.
- Inserting does not create a new column.
- The COLUMNS function returns the total number of columns in a range.
Download Practice Workbook
In this article, you learned how to use columns in Excel and how to apply different attributes to columns. You learned the process of how to refer, select, hide, and lock a column. You also learned to change the default column names from alphabets to numbers. We also showed you how to use the COLUMNS function in Excel.
Columns in Excel: Knowledge Hub
<< Go Back to Learn Excel