In this Excel tutorial, you will learn about the watermark in Excel. This will cover how to insert, reposition, resize, and remove watermarks in Excel. Most of the time, watermarks are employed to give a document a copyright edge while preventing plagiarism.
To prevent note theft, teachers and tutors frequently watermark their notes with their names.
To prevent tampering with sensitive information, significant documents and correspondence in a corporation are tagged as confidential.
When confidentiality isn’t the only concern, watermarks can be used to promote businesses by adding their name or brand to papers. It visually acts as a quick and reliable reminder of the brand identity of the business.
Click the image for a detailed view
⏷Add Watermark in Excel
⏵Insert Text Watermark
⏵Insert Image Watermark
⏵Using WordArt to Inset Watermark
⏷Reposition Watermark
⏷Resize Watermarks
⏷Remove Watermark in Excel
⏷Things to Remember
⏷Frequently Asked Questions
⏷Watermark in Excel: Knowledge Hub
What Is a Watermark?
A watermark is a logo, text, picture, or pattern. We usually superimpose it onto another image or dataset intentionally. The main purpose of a watermark is to make it more difficult to copy the main image or dataset without permission. Excel provides several methods to add watermarks.
How to Add Watermark in Excel
You can add a text or an image as a watermark in Excel. The text-based watermark can be normal text or WordArt.
1. Inserting Text Watermark
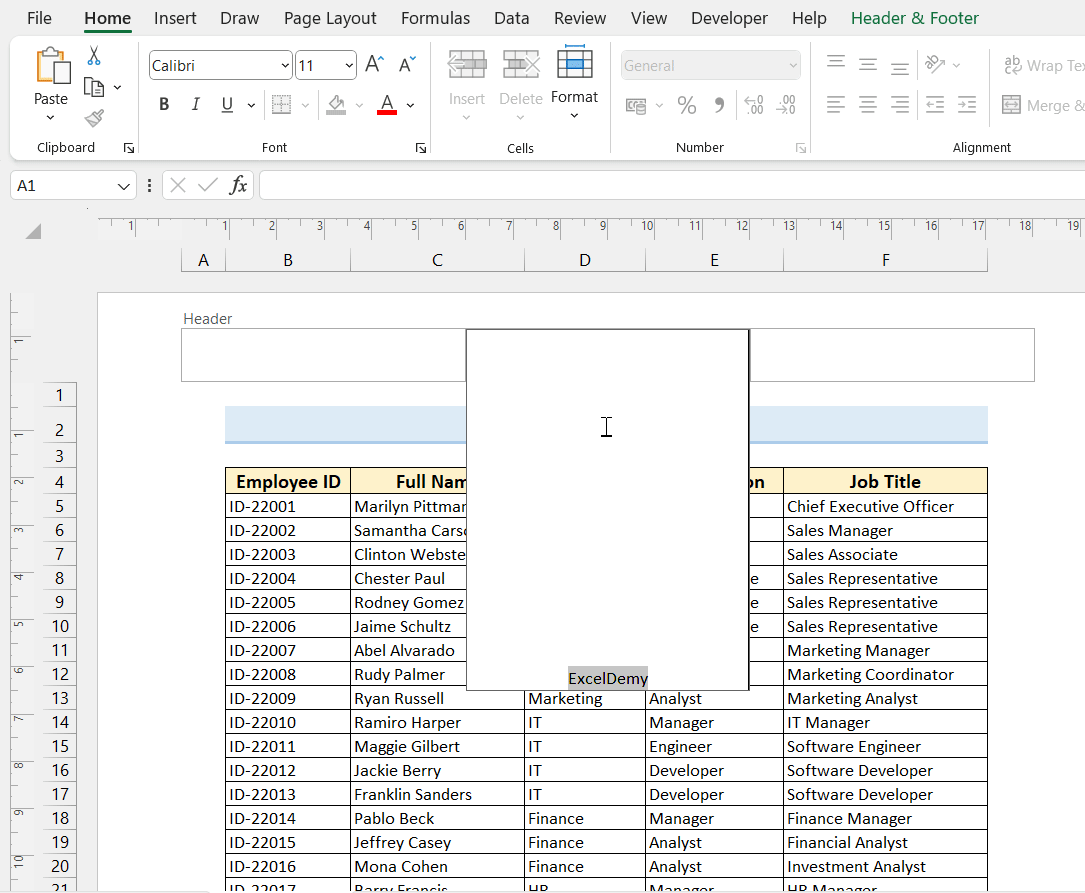
- From the Insert tab, select the Header & Footer option from the Text group.
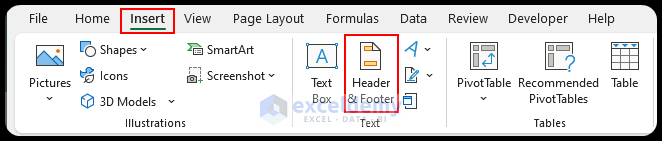
- Now, the Page Layout view will activate.
- Click on the header box and enter the text you want for the watermark.
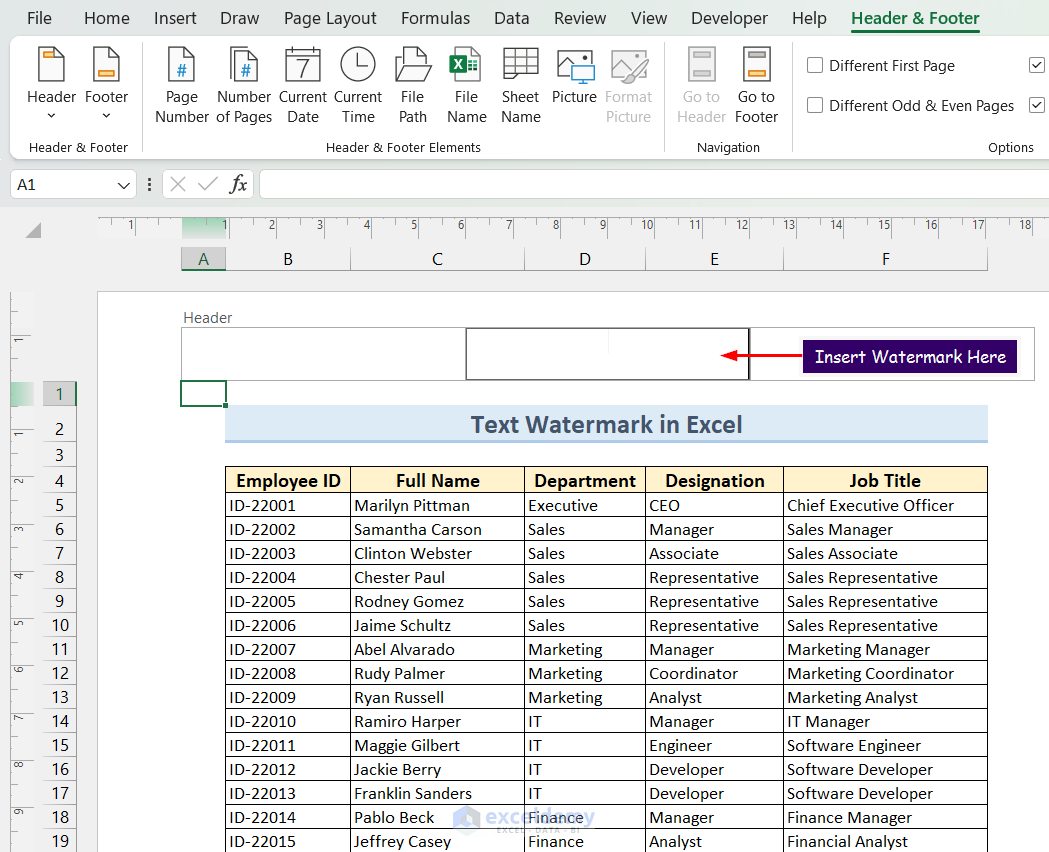
Click the image for a detailed view
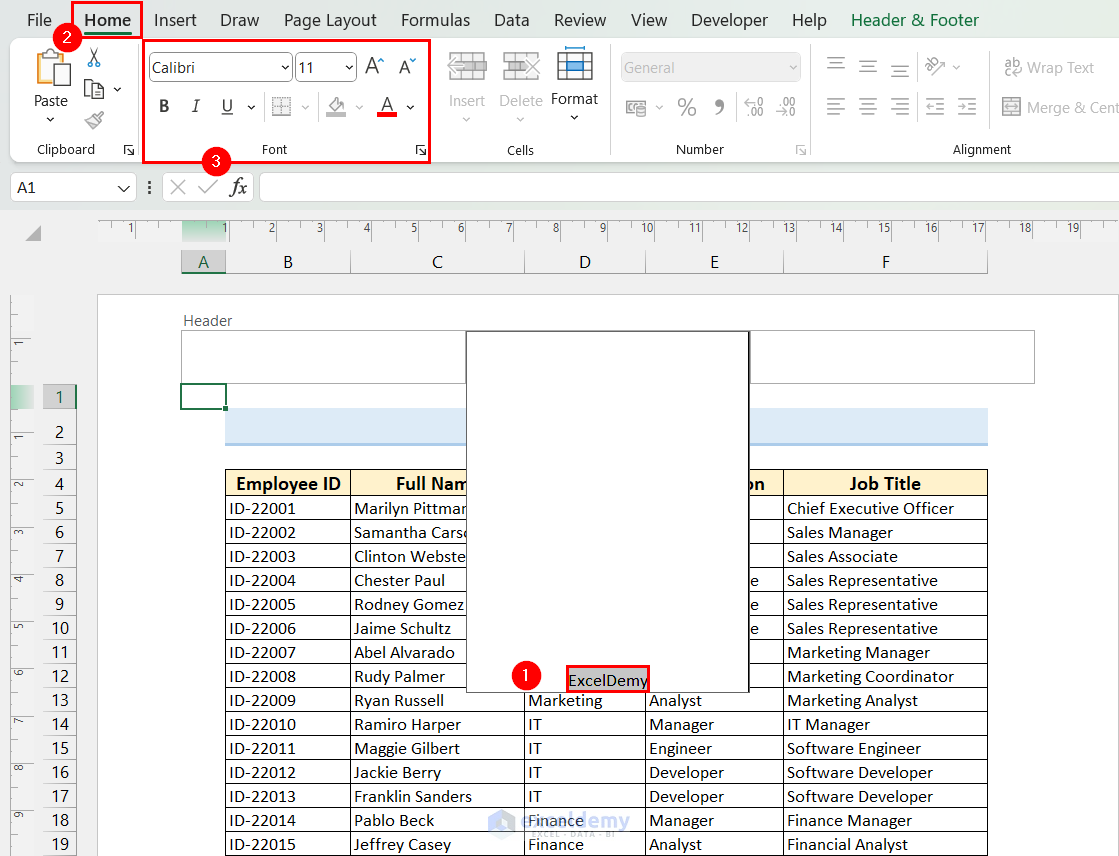
- After entering the text, you can format it using the Font options from the Home tab. You can modify the font style, size, and color.
Click the image for a detailed view
- Here, I have selected the Bold style, set the Font Size to 36, and the Font Color to Blue, Accent 5 option.
- Afterward, click outside of the header box.
You can click the GIF for a detailed view
- After clicking outside the header box, you will get the watermark.
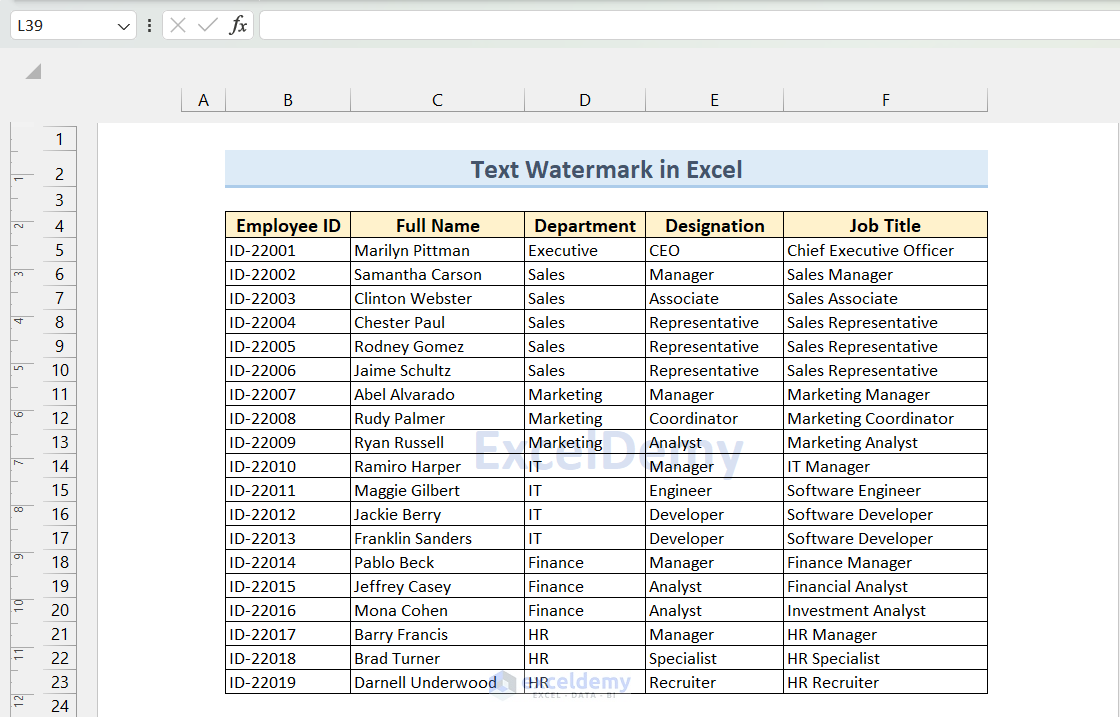
Click the image for a detailed view
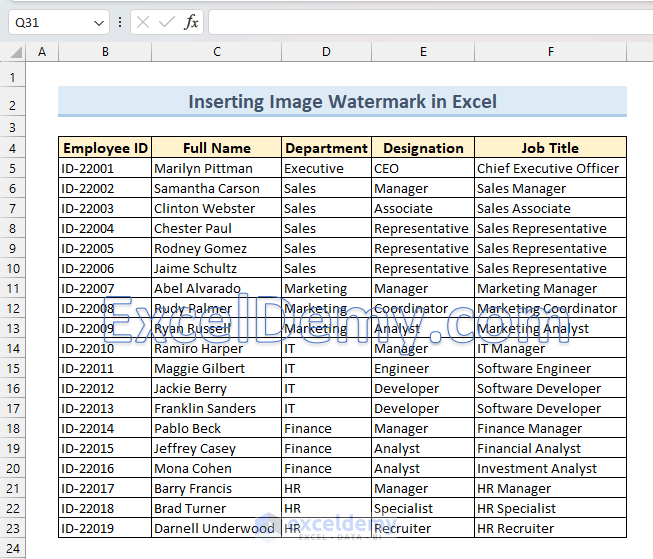
2. Inserting Image Watermark
- Like the previous method, go to the Insert tab and select the Header & Footer option.
- Then, the Page Layout view will activate.
- Click on the header box.
- Click the Picture option from the Header & Footer tab.
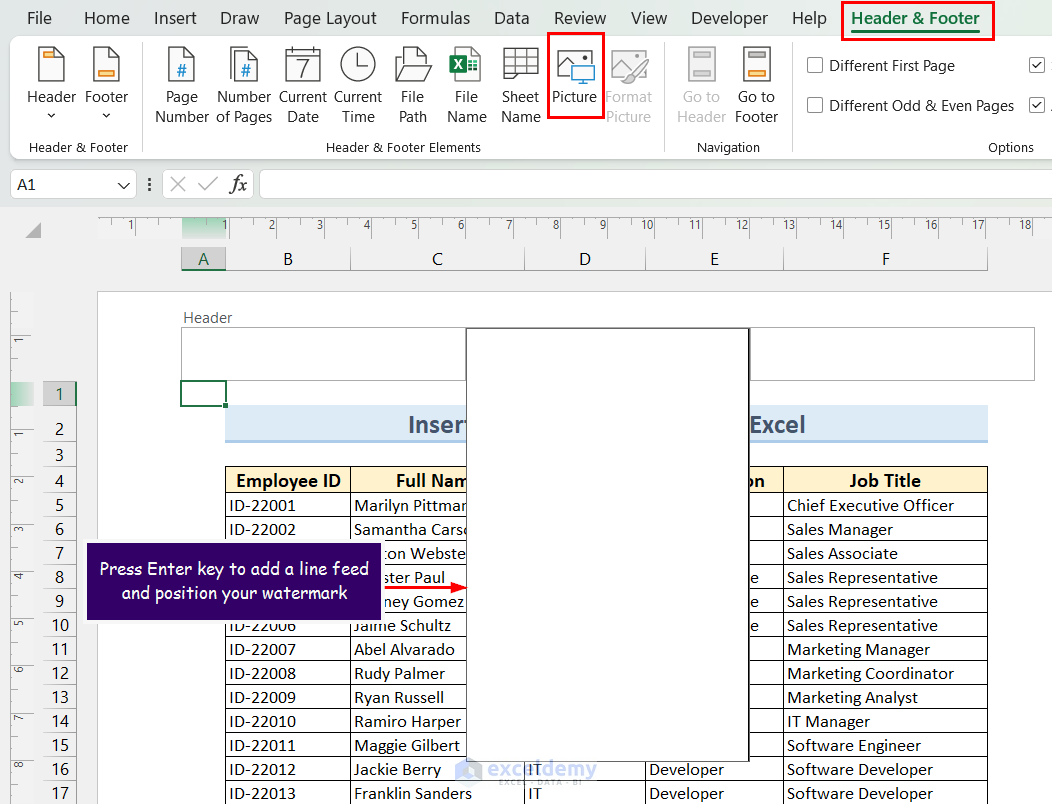
Click the image for a detailed view
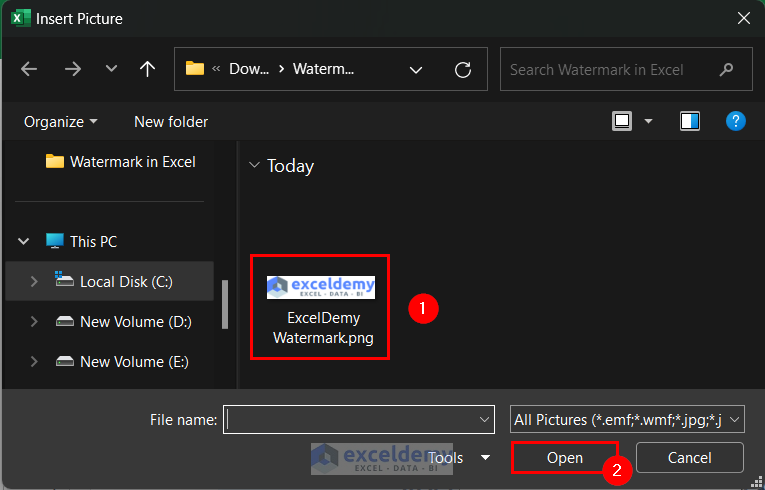
- Now, the Insert Pictures dialogue box will pop up.
- Click on the From a file option.

- Go to the directory from where you want to select the watermark image.
- Select the watermark image file and click the Open button.
- Now, you will see the &[Picture] keyword in the header box.
- As watermarks should not block the view of any data in the worksheet, we have to Format the watermark image. Select the &[Picture] keyword and click the Format Picture command.
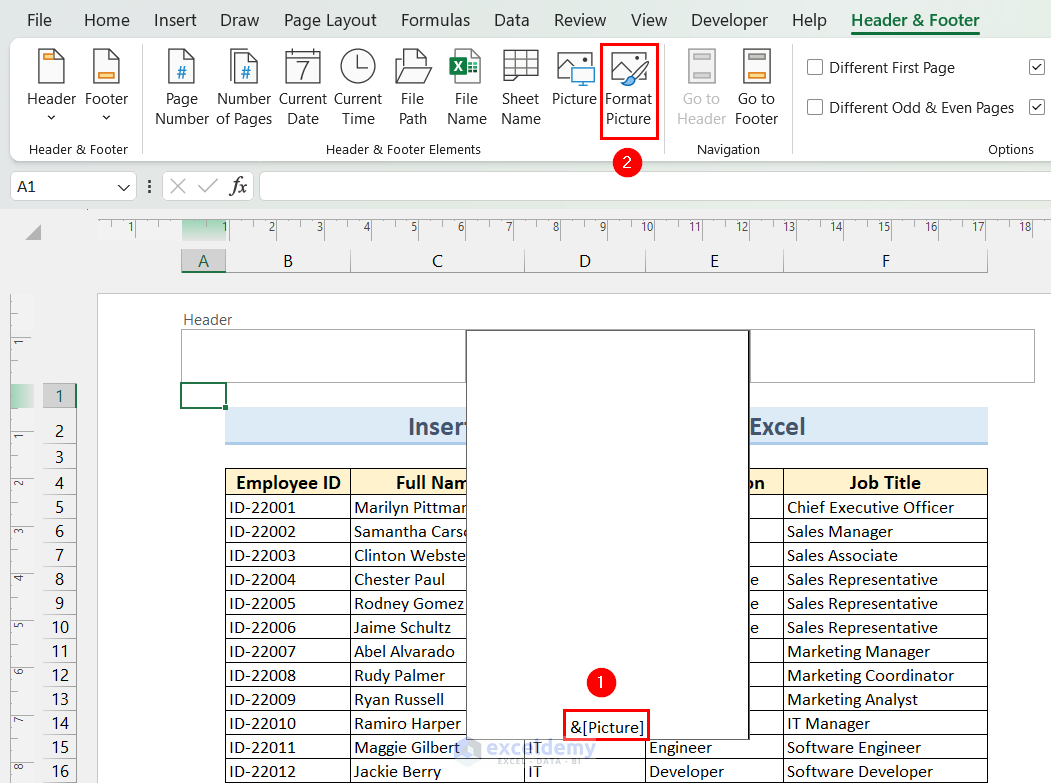
Click the image for a detailed view
- You will get the Format Picture dialog box.
- Go to the Picture tab and set the Color option to Washout.
- Then, click the OK button.

You can click the image for a detailed view
- Finally, click outside of the header box and you will get the image watermark.
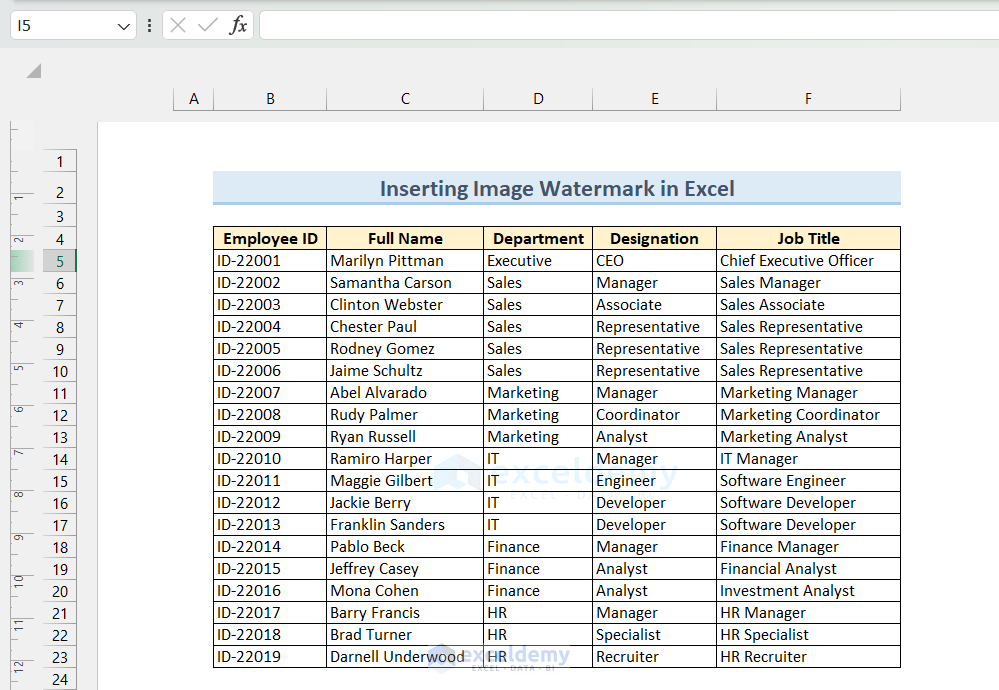
You can click the image for a detailed view
3. Using WordArt to Insert Watermark in Excel
- Go to the Insert tab >> click the Text dropdown >> click the WordArt dropdown >> select your preferred style.

- You will get a textbox like the following.
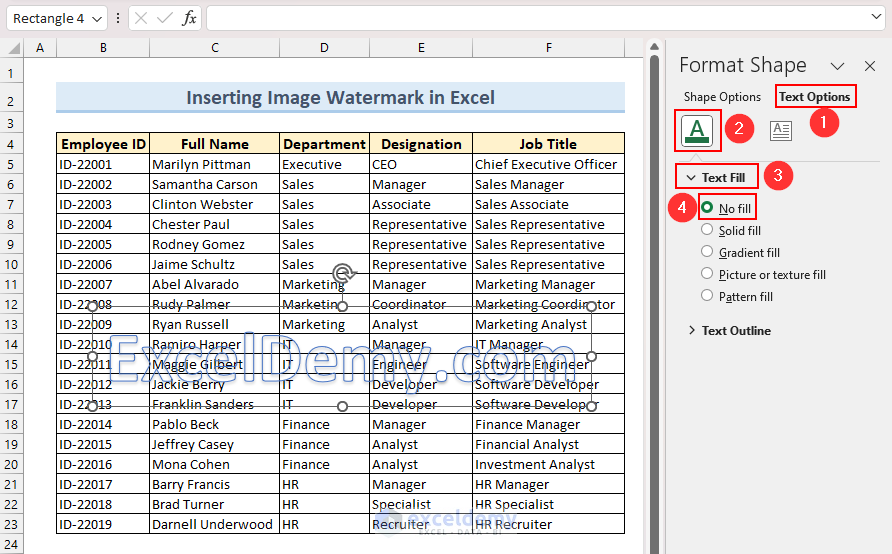
- Enter the Watermark text >> go to the Shape Format tab >> click the Shape Format dialog box launcher icon.
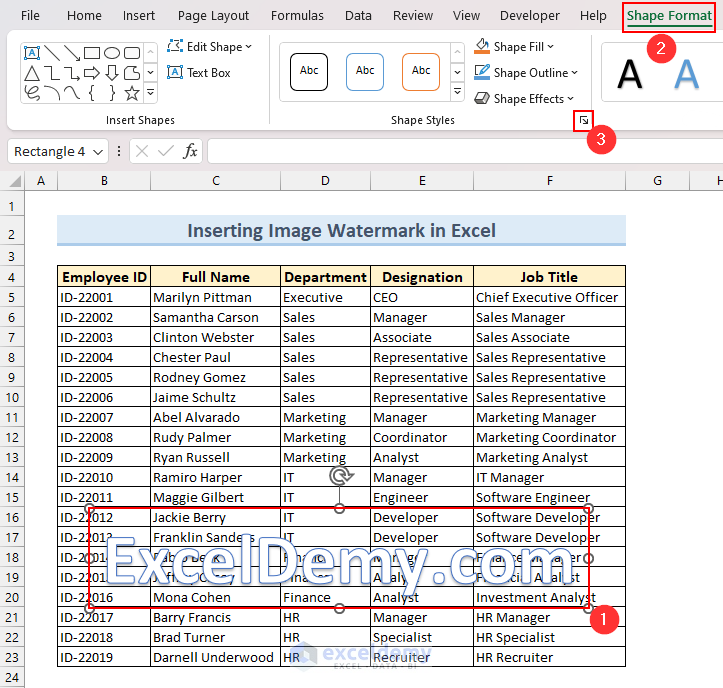
- At this time, you will get the Shape Format pane on the right side of your window. Go to the Text Options tab >> click the Text Fill & Outline option >> click the Text Fill dropdown >> select the No fill option.
- Your watermark is now ready. You can position it to your preferred location.
Read More: How to Add Watermark in Excel
How to Reposition Watermark in Excel
- Select the watermark by clicking on the Header.
- To move the watermark upward, press Backspace.
- Again, to move the watermark downward, press Enter.
- You can also press Space to move the watermark to the right.

How to Resize Watermarks in Excel
Resize Text Watermark:
If you have entered a text watermark, then you can modify it using the Font options from the Home tab.
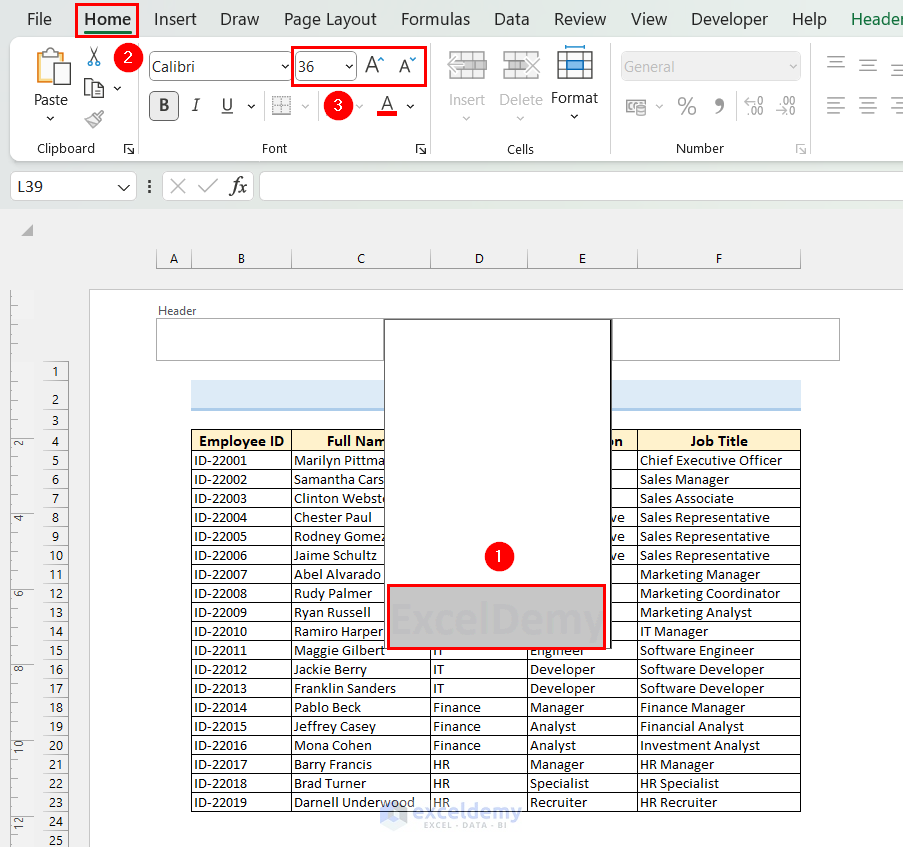
- Click the header box and select the watermark text.
- Go to the Home tab.
- Use the Font Size dropdown, Increase Font Size button, or Decrease Font Size button to resize the watermark.
Click the image for a detailed view
Resize Image Watermark:
If you are using an image watermark, then you have to resize it using the Format Picture command.
- Activate the watermark by clicking on the Header.
- Select Format Picture, from the Header & Footer tab.

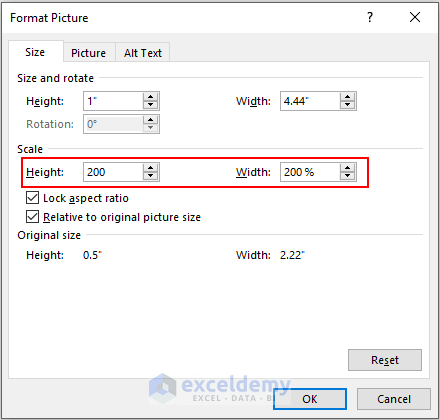
- The Format Picture dialog box will appear.
- You can change the height and width in the Size and rotate section or Scale section.
- We’ve increased the watermark size to 200%.
- You can also uncheck the option to lock the aspect ratio and resize the watermark.
- Lastly, press OK.
- This is the output of resizing the watermark.
- This shows how to resize an image-based watermark. If you want to resize a text-based watermark, you can simply change the font size.
Click the image for a detailed view
How to Remove Watermark in Excel
- Select the watermark by clicking on the Header.
- Then, you can highlight everything and press Delete.
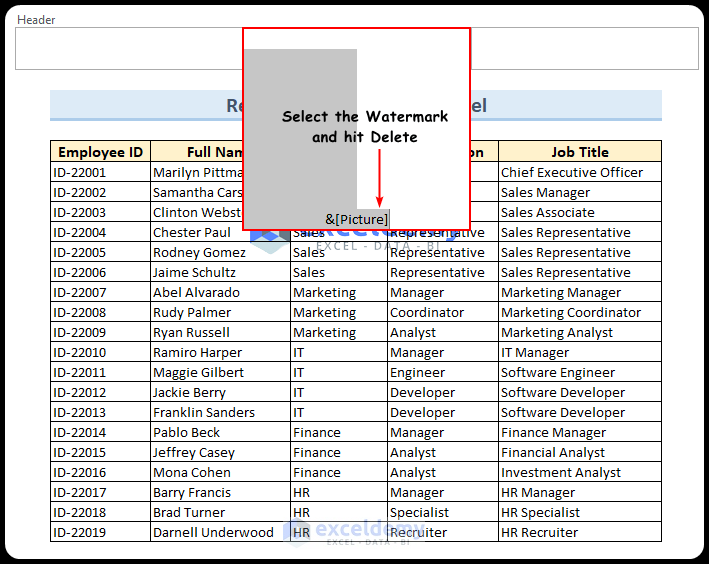
- The watermark has been removed.

What Are the Things to Remember?
- Excel does not allow you to add more than one watermark to a section.
- In Excel’s default view, watermarks are not visible.
- Be careful when choosing the watermark; sometimes it may block data from viewers.
Download Practice Workbook
Conclusion
This article covered how to add and use a watermark in Excel. We have discussed how to add, reposition, resize, and remove watermarks in a spreadsheet. If you have any questions or suggestions about this, please comment below. Thanks for reading, and keep excelling!
Frequently Asked Questions
1. How to Rotate a Watermark in Excel?
You can’t rotate a watermark directly in Excel. You have to rotate the picture or textbox first and then save it as a picture before inserting watermarks. Follow the steps below:
- First, insert the picture or text (Text Box or WordArt) in an Excel or Word file.
- After that, rotate the picture or text using the rotation handle (i.e. green circle on the top of the picture or the text box).
- Then, right-click on the rotated picture or textbox and click Save as Picture from the right-click menu. Save it in any directory.
- Now, open the target Excel file and go to the Insert tab.
- Afterward, select the Header & Footer option from the Text group.
- Then, select the Picture option from the Header & Footer Elements group.
- Finally, click the From a file option in the Insert Pictures dialog box and browse the previously saved picture. You will get your target rotated watermark.
2. How do I protect the watermark from being removed in Excel?
Excel doesn’t provide measures to protect the watermarks from being removed. However, you can protect the worksheet and workbook to prevent them from changing. To protect the workbook, from the Review tab, select Protect Workbook. Then, type a password and press OK.
3. How do I insert the current date as the watermark in Excel?
Click on the header or footer sections. This will activate the Header & Footer tab. After that, select the Current Date feature from the Header & Footer Elements section. Thus, it will insert the current date as a watermark in Excel.
Watermark in Excel: Knowledge Hub
- Move Watermark in Excel
- Remove Watermark in Excel
- Remove Page 1 Watermark in Excel
- Fix Watermark in Excel
<< Go Back to Page Setup | Print in Excel | Learn Excel

