In this article, we will introduce Quick Access Toolbar in Excel to you. We’ll show you how to add or remove command buttons, change their order, group commands for better organization, and even add macros to make your workflow smoother.
We’ll also cover how to customize it for a specific worksheet, move it to a different location, show or hide it as needed, import or export your toolbar settings, and reset it to its default configuration.
Lastly, we’ll address what to do if the Quick Access Toolbar isn’t available and offer some potential solutions.
By the end of this easy-to-follow guide, you’ll have a profound knowledge of the Quick Access Toolbar and be able to personalize it to fit your needs.

Introduction to Quick Access Toolbar
The Quick Access Toolbar is a customizable toolbar in Microsoft Office applications, including Excel. It is a small bar located at the top of the window, typically just below the title bar. The Quick Access Toolbar provides quick and easy access to frequently used commands and functions, allowing users to perform common tasks more efficiently.
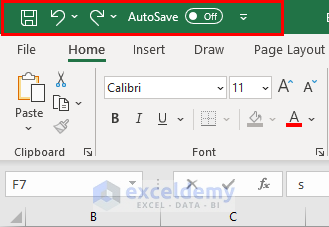
The default options in the Quick Access Toolbar in Excel include:
- Autosave: A switch that automatically saves the workbook to prevent data loss.
- Save: A button to save the active workbook. If the workbook hasn’t been saved yet, it functions as Save As to choose a name and location for the file.
- Undo: A button to reverse the effect of the last action performed.
- Redo: A button to bring back the effect of the last undo action.
How to Customize Quick Access Toolbar
Customizing Quick Access Toolbar means making changes to the toolbar so that it fits your own preferences. You can add or remove buttons for commands that you use often, and change their relative position according to your need. It’s a way to make the toolbar work better for you by putting the buttons you need right at your fingertips.
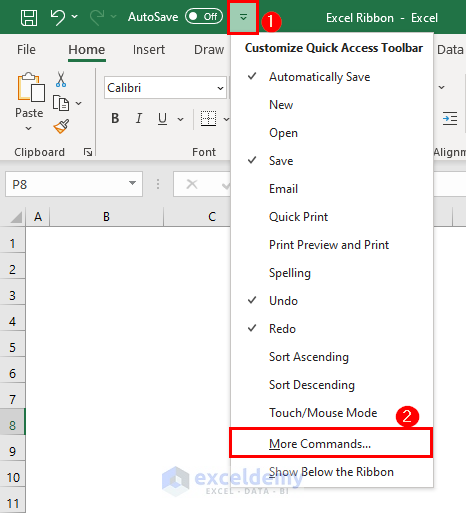
- Select the icon in the upper left region of your worksheet (marked 1).
- Select More Commands… option.
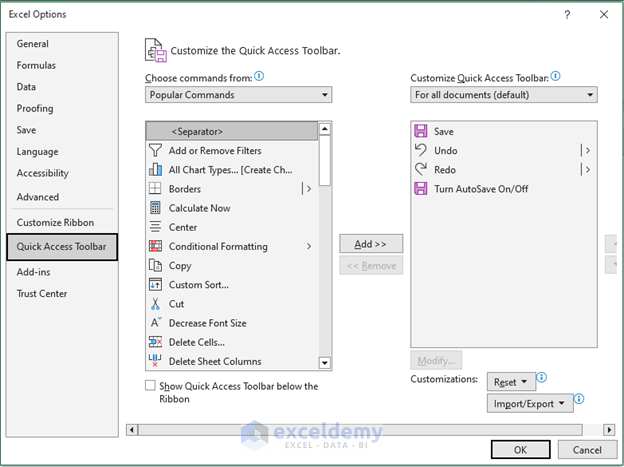
- Excel Options window will appear. You can customize your QAT from there.
1. Add or Remove Command Button
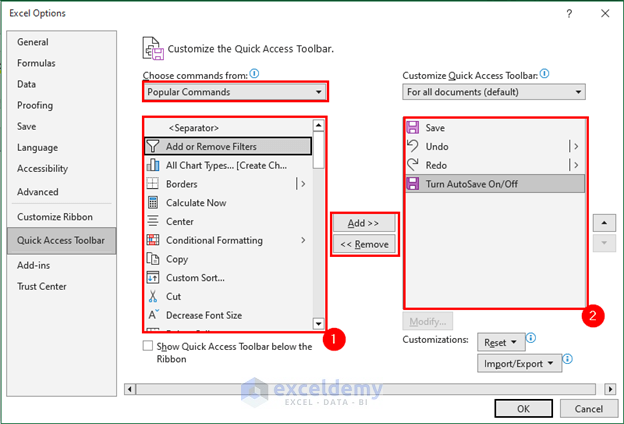
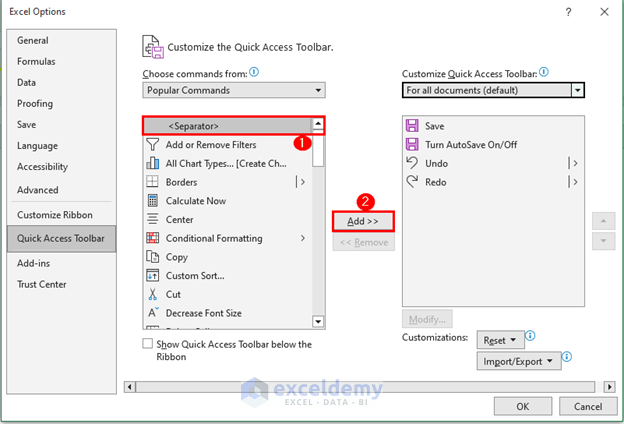
In the Excel Options window, you will see 2 major sections (marked 1 and 2 in the image below).
- The 1st section contains all the available options that you can add to your QAT.
- The 2nd section contains the options your QAT has.
You can use the Add >> button to add any command to your QAT. Conversely, you can use the << Remove button to remove any command from your QAT.
2. Change the Order of Command
You can also change the order of the commands as you want.
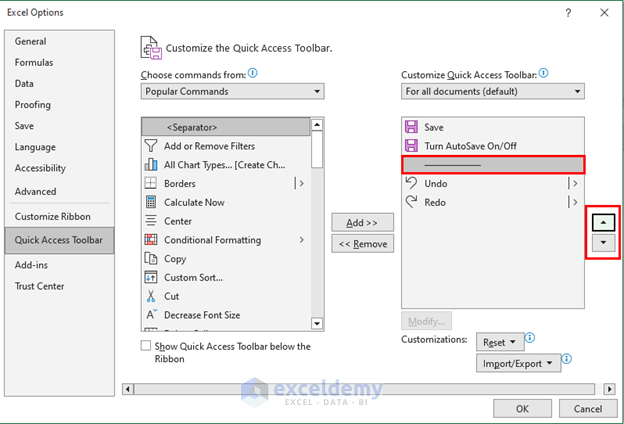
- Select any command.
- Use the up and down button to change the position.

3. Group Commands
A useful feature of QAT customization is that you can create a group of commands. This feature will keep a number of commands together as if they are in a group.
- Add the option <Separator> to your QAT.
- Position it correctly so that you can create the group as you want. For instance, I have created a group command including the Redo and Undo operations.
- Click OK.
- Now, you will see a separator creating a group of commands.
4. Quick Access Toolbar Customization for Current Worksheet Only
The Quick Access Toolbar in Excel can be customized to apply specifically to the current worksheet. This allows you to have a unique set of buttons and commands tailored to your needs for that particular worksheet.
Here’s how you can customize the Quick Access Toolbar for the current worksheet only:
- Select the drop-down icon shown in the right portion of the image below >> select For Excel Ribbon.xlsx (the current workbook name is Excel Ribbon) >> click OK.
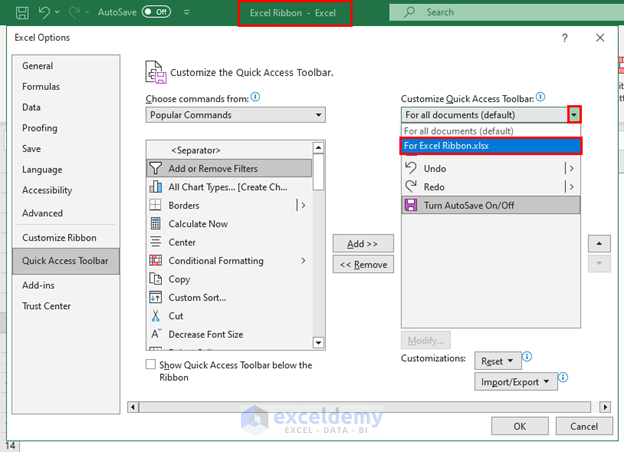
The customization you will make will be applied to this workbook only.
5. Add Macros in Quick Access Toolbar
You can add useful macro commands in your QAT too.
- Select Macros in the field Choose commands from.
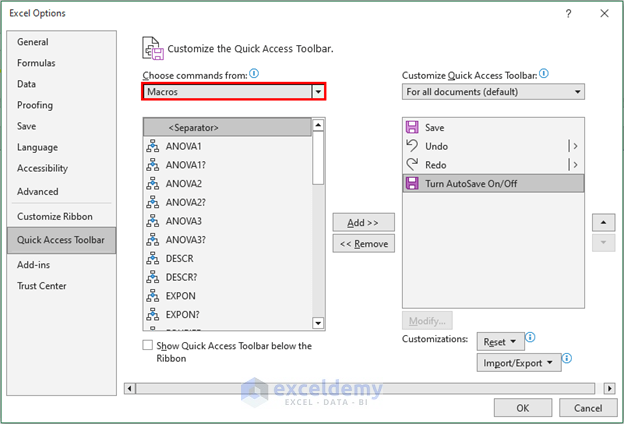
Excel is showing all available macro commands. Add the ones you like from these options.
Move Quick Access Toolbar
Moving the Quick Access Toolbar in Excel allows you to change its position on the Excel window. By default, the Quick Access Toolbar is located above or below the ribbon, depending on your settings. However, you can move it to a different location to suit your preferences.
In our case, the default position is above the ribbon. I will change its position now.
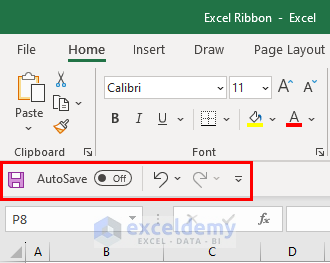
- Check Show Quick Access Toolbar below the Ribbon from the Excel Options window >> click OK.
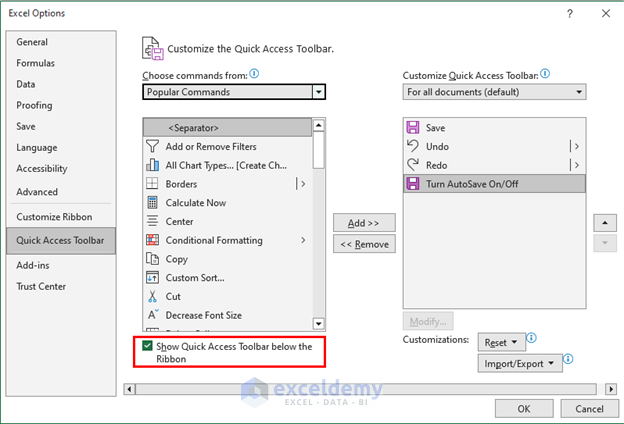
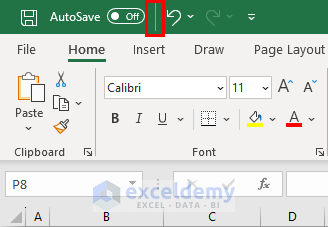
- Excel will move the QAT below the ribbon.
Show or Hide the Quick Access Toolbar
You can show the Quick Access Toolbar or hide it. Let’s see how you can hide it first.
- Click on the icon that is in the top right corner of your workbook >> select Auto-hide Ribbon.
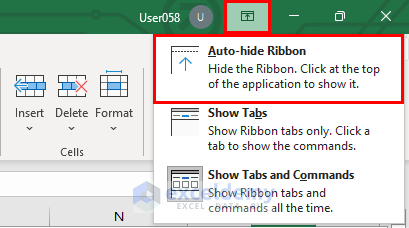
- Excel will hide the QAT.
- To get it back, select Show Tabs and Commands option.

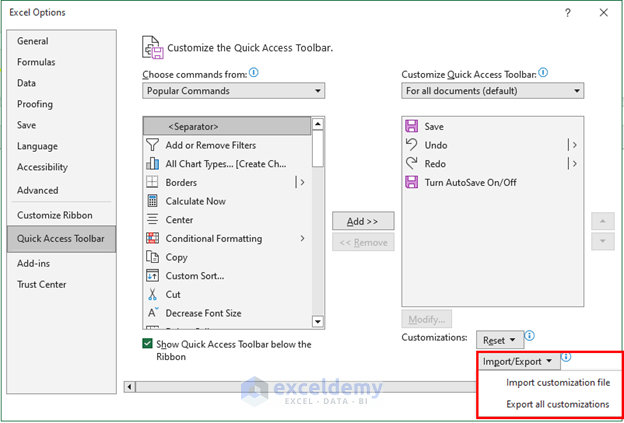
Import or Export Quick Access Toolbar
Importing or exporting the Quick Access Toolbar in Excel allows you to transfer your customized toolbar settings from one computer to another. This can be useful when you want to duplicate your toolbar setup on a different device or share it with others.
- You will find the Import and Export options in the Excel Options box.
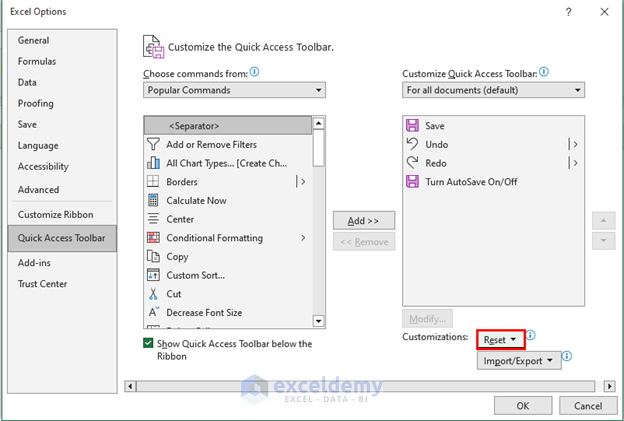
Reset Quick Access Toolbar
You can reset Quick Access Toolbar to restore the QAT to its default settings. When you choose to reset the toolbar, any customizations you made, such as adding or removing buttons, will be undone, and the toolbar will get back to its original state.
- Select Reset button from Excel Options box >> click OK.
Excel will reset the QAT.
[Fixed!] Quick Access Toolbar Not Available
If the Quick Access Toolbar is not available or visible in Excel, there are a few steps you can take to troubleshoot and resolve the issue:
- Ensure that you are running a supported version of Excel: The Quick Access Toolbar is a feature available in most versions of Excel, but it’s always good to check if your version supports it.
- Check the toolbar settings: Sometimes, the Quick Access Toolbar may be hidden or disabled. Make sure that the option Show Quick Access Toolbar below the Ribbon is selected.
- Reset the toolbar: If the Quick Access Toolbar settings are correct but it still doesn’t appear, you can try resetting it and see if the toolbar reappears.
- Customize the toolbar manually: If none of the above steps work, you can manually customize the Quick Access Toolbar by adding buttons for commands you frequently use.
If you’ve tried these steps and the Quick Access Toolbar is still not available, it’s recommended to check if there are any updates available for your Excel version or seek further assistance from Microsoft Support.
Things to Remember
- Customize the Quick Access Toolbar by adding, removing, and rearranging buttons for frequently used commands.
- Reset the toolbar to its default configuration if needed.
- Check the toolbar settings if you find it disabled or hidden.
Frequently Asked Questions
1. What is the Quick Access Toolbar in Excel?
Ans: The Quick Access Toolbar is a customizable toolbar located above the ribbon interface in Excel. It provides quick access to frequently used commands, improving workflow efficiency.
2. Can I add macros to the Quick Access Toolbar in Excel?
Ans: Yes, you can add macros to the Quick Access Toolbar.
- Go to the Customize Quick Access Toolbar menu.
- Choose Macros from the drop-down.
- Select the desired macro to add it to the toolbar.
3. How to add the Form button in Quick Access Toolbar?
Ans: To add the Form button to the Quick Access Toolbar in Excel, follow these steps:
- Select More Commands from the dropdown menu.
- In the Choose commands from box, choose All Commands.
- Locate and select the Form button (Form Control button) from the list.
- Click the Add button to add the Form button to the Quick Access Toolbar.
Conclusion
In conclusion, the Quick Access Toolbar in Excel allows you to customize and optimize your workflow. You learned how to add, remove, and organize command buttons, as well as incorporate macros.
Additionally, you discovered how to customize the toolbar for specific worksheets, move it, and show/hide it as needed. Importing/exporting settings, resetting to default, and troubleshooting were also covered.
With this guide, you can now personalize the Quick Access Toolbar to suit your needs and increase productivity in Excel. Get started and enjoy a more efficient work experience!
Quick Access Toolbar in Excel: Knowledge Hub
- How to Remove Quick Access Toolbar in Excel
- How to Customize the Quick Access Toolbar in Excel
- [Fixed!] Quick Access Toolbar in Excel Missing
<< Go Back to Excel Parts | Learn Excel

